I’ve seen many web designers who work at 1x and I’ve read articles that say it’s best to design at 1x. But I think a more modern workflow is to work at 2x (Retina) size. In this article I’ll explore the various issues affecting our workflow, so you can understand why I recommend designing at 2x.
Let me clarify something before getting started. I’ll only talking about designing web graphics in Photoshop. Other apps like Sketch, Adobe XD, or Illustrator work totally differently, so this article will only focus on Photoshop.
If your unsure of what I mean by 1x and 2x, please read my post: Retina Web Graphics Explained.
2x Versus 1x Showdown
Now onto the topics! I’ll look at one issue at a time, declaring a winner for each issue.
Display Quality
If your Mac or PC doesn’t have a 2x (Retina) display yet, it will eventually. Just like no one uses black and white monitors anymore, eventually all displays will become 2x. Eventually we may not even create low-res 1x graphics anymore, so why keep designing at a size that is eventually going to be irrelevant?
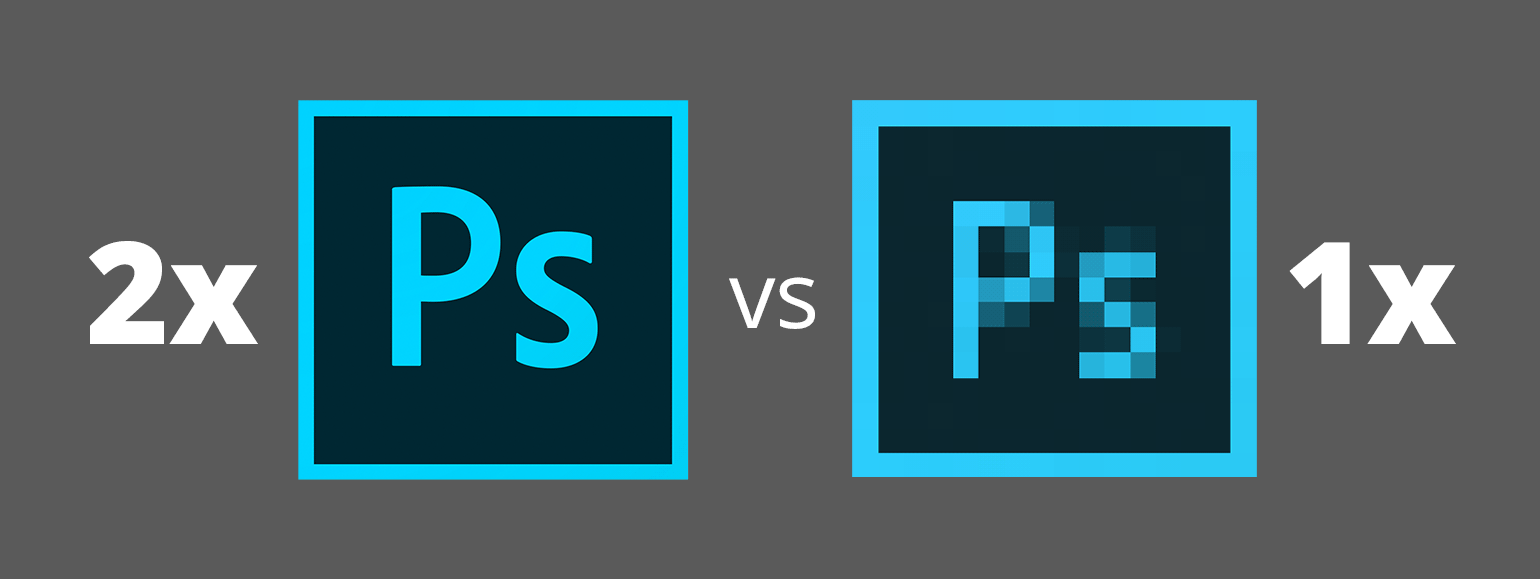
- 2x Photoshop files look great on a 2x Retina display.
- 1x Photoshop files look pixelated on a 2x Retina display (because you must zoom in to 200%). This means you can’t see their full potential quality.
- 2x Photoshop files look fine on a 1x display (although you must zoom out to 50%). You won’t be able to see the benefit of 2x on your 1x screen, because you’re limited by the display.
Once I got used to designing 2x graphics on a 2x Retina display, it’s hard to go back to viewing pixelated 1x designs. I think all designers should get a 2x display as soon as possible. There’s simply no other way to see how some people are viewing your designs.
Winner: 2x
Previewing on Mobile Devices
The Adobe Preview CC mobile app lets you preview your phone and tablet designs on an iPhone or iPad live as you work. If you’re not already using it, you’re missing out! It’s a great app, and it assumes you’re working in 2x files:
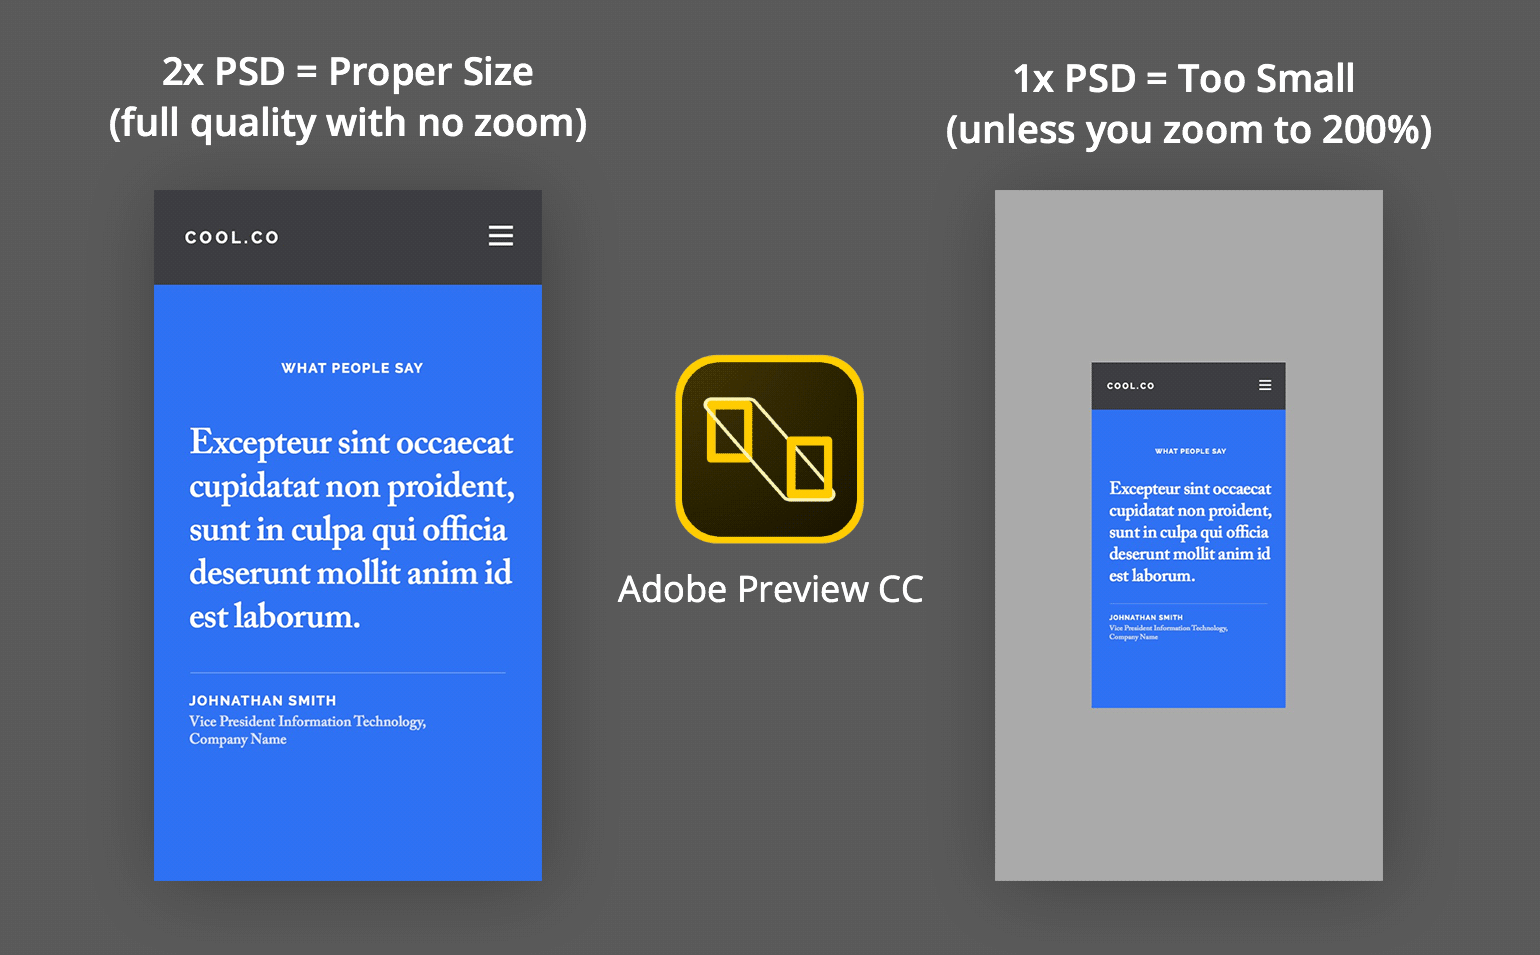
- If you work in 2x files, you can see the full quality (because the iPhone and iPad have 2x screens) and your designs will be properly sized in the preview app.
- If you work in 1x files, your designs will start out too small (half the size they should be). You’ll need to double-tap to zoom in to 200% (which is annoying to do every time you preview), and it means your previews will be pixelated.
Adobe seems to have built this app assuming you’re designing in 2x files, so that’s further support for my recommendation to design at 2x.
NOTE: I am currently running Adobe Preview on an iPhone 6s (which is a 2x device). I have not tested how Adobe Preview works on an iPhone Plus which is a 3x device.
Winner: 2x
Using Adobe Generator to Generate 2x and 1x Assets
Using Adobe Generator, you can export 2x assets (the current size) as well as 1x assets (by scaling them down 50%). The quality will always be good because you never have to worry about scaling images down.
When using Adobe Generator to export 2x assets from a 1x design, Photoshop must scale up the graphic. For this to work properly you must use Smart Objects that have enough resolution so they can be doubled in size. This means you can’t trust your output by simply looking at your Photoshop file. You could double-check the scale of every Smart Object, or double the size of the Photoshop file and visually check it, but these are just more things to do and more things you could forget. As long as you’re careful this works most of the time, except when you encounter a bug I found in Photoshop.
If the file you placed as a Smart Object was originally a JPEG (which stock photography typically is), the exported 2x asset will be low quality and blurry even if the Smart Object has enough resolution. This means you have to convert all JPEGs to PSD or TIFF before placing into Photoshop, so that the enlargement to 2x will work properly. Clearly this shouldn’t happen, which is why it’s a bug! Working at 2x avoids this bug.
Winner: 2x
Zoom Level
- When working on 2x designs on a 2x display, you work at 100% zoom. There’s a keystroke to zoom to 100%.
- When working on 1x designs on a 2x display, you work at 200% zoom. There’s no default keystroke to zoom to 200%, although you can define one.
- When working on 2x designs on a 1x display, you work at 50% zoom. There’s no default keystroke to zoom to 50%, and no way to define a single keystroke. You’ll need to zoom to 100% and then zoom out. (Maybe someone wrote a script that you can assign a keystroke to.)
Assuming we all have (or will get) a 2x display, being able to quickly zoom to 100% with a keystroke looks like the winner to me.
Winner: 2x
Photoshop File Size
- 1x Photoshop files are smaller.
- 2x Photoshop files are larger.
Winner: 1x
Element Sizing & Math
When working at 2x you must double type sizes, stroke weights, etc.
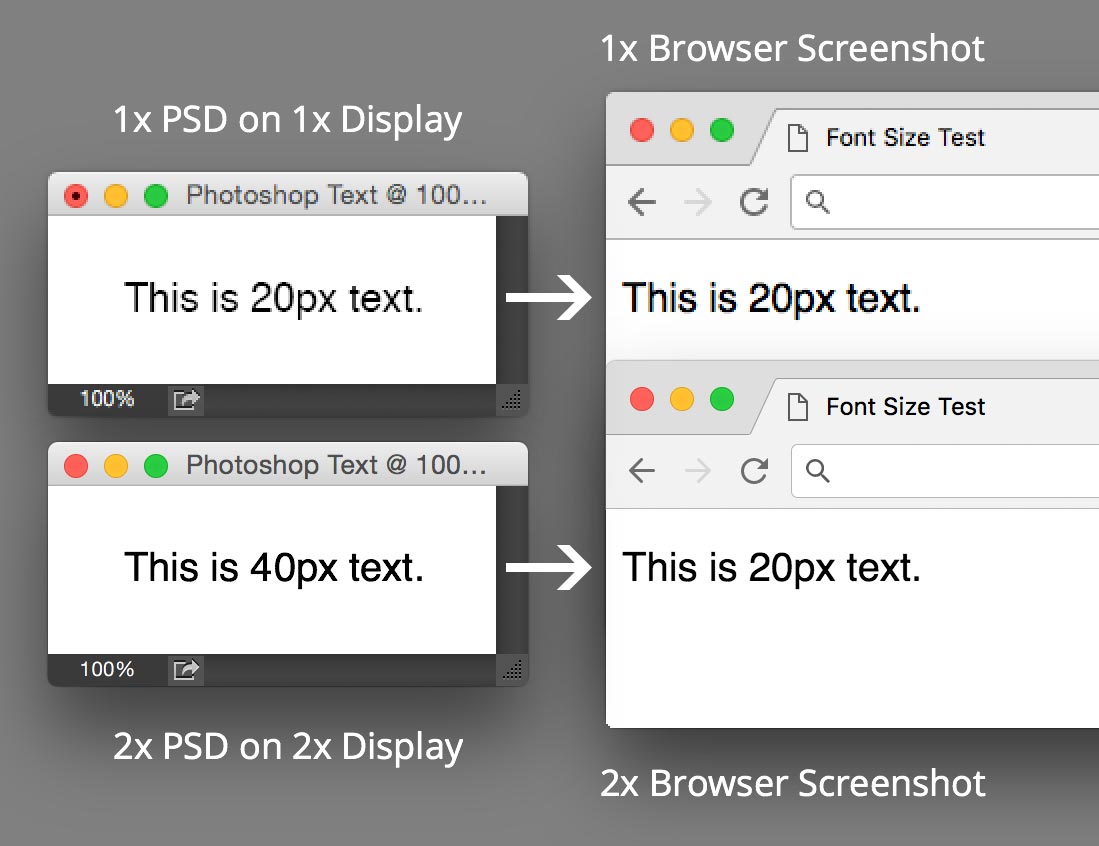
Here are some examples:
- 20px type in CSS must be 40px in a Photoshop 2x file. (It would be 20px in a 1x file.)
- A 1px stroke in CSS must be 2px in a Photoshop 2x file. (It would be 1px in a 1x file.)
As long as you make all sizes even (2, 4, 6, 8, etc.) in your 2x files you’ll be fine (because they can be cut in half for developers).
Giving specs to developers requires an extra step when working in 2x files. Because all sizes are doubled, you have to divide them in half to get the amount for coding into CSS. You could reduce the image size to 50% and Photoshop will do all the math for you, but this is the biggest thing to dislike about working in 2x files. It’s manageable, but everyone (designers and developers) must understand what’s going on.
Winner: 1x
Conclusion
Designing at 2x wins by a score of 4 to 2. Both workflows have their pros and cons, but I hope I’ve shown you that the benefits of designing at 2x outweigh the few downsides.